What knit stitches are there - the next level!
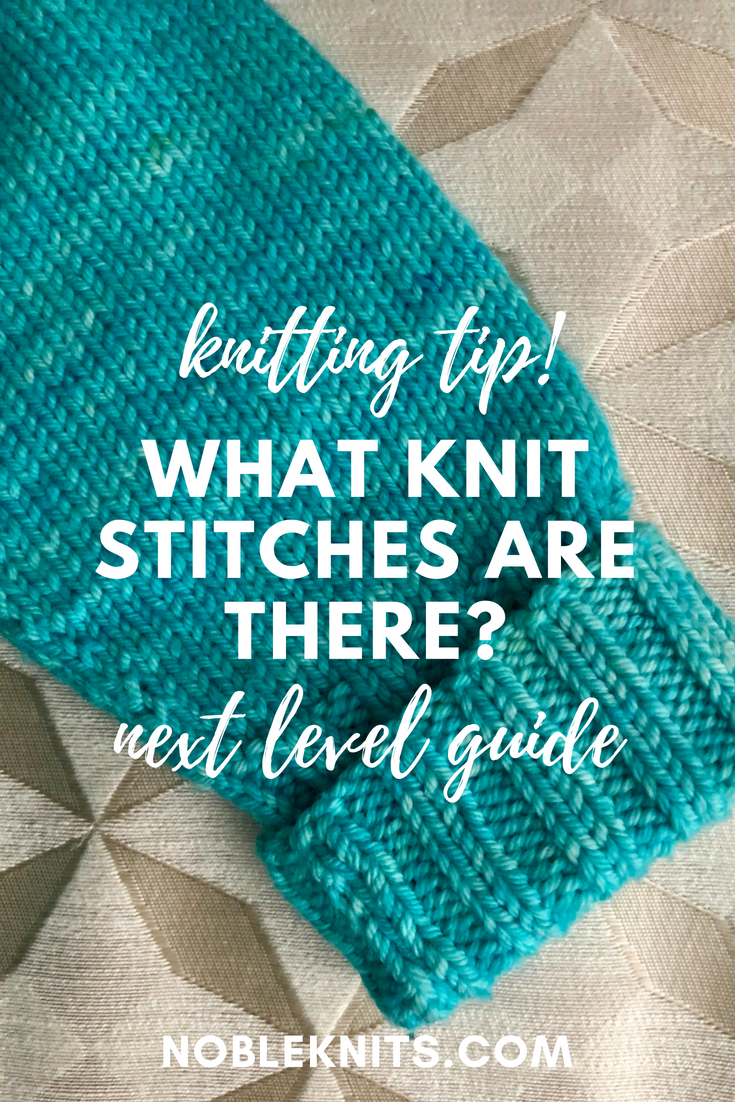
So, last week in our Knitting Tips blog post I talked about the two main stitches found in knitting, knit and purl, and the basic application of those stitches to create different knit fabrics.
Today, I'd like to take this knowledge a bit further and talk about the next steps in using these two main stitches to create fabrics and how they might be used.
Ribbing!
A 2x2 ribbed cuff on the Ginny Cardigan
If you took some time to practice the Garter or Stockinette fabrics from last weeks post, you may have noticed something about the fabric of stockinette: it curls! How annoying is that, right? To combat this finicky issue of the beloved Stockinette fabric, borders are often added to projects to avoid this rolling. One of the most common forms of border is ribbing.
Quite simply, Ribbing is the alternating of stitches between knits and purls on a single row, repeating this syncopation on top of each other in pattern. A great example of this is at the bottom of a sweater. Whether you knit from the top down and end with the hem, or start from the bottom up, the ribbing is worked the same. More often than not a sweater has a 2x2 ribbed hem.
What many "lazy" designers often do (and I include myself in that bucket) is forget that once upon a time we didn't know all of the knitting nomenclature and simply say 'Work in 2x2 rib for 2" / 5 cm'.
Yeah... so what does that mean? It means knit 2 stitches, then purl 2 stitches, then knit 2 stitches, then purl 2 stitches, ad nauseum, across the row. Here's how it would look if it was written out:
Worked Flat with a multiple of 4 sts:
Row 1 (RS): *K2, p2; repeat from * to end of row.
Row 2 (WS): Work as for Row 1.
Repeat Rows 1 and 2.
Worked Flat with a multiple of 4 sts, plus 2:
Row 1 (RS): *K2, p2; repeat from * to last 2 sts, k2.
Row 2 (WS): P2, *k2, p2; rep from * to end of row.
Repeat Rows 1 and 2.
Worked in the round with a multiple of 4 sts:
Rnd 1: *K2, p2; rep from * to end of rnd.
Repeat Rnd 1.
Ribbing doesn't have to be 2x2, though. It can be 1x1, 2x1, 2x2, 3x1, 3x2, 4x1, 4x2, etc. More often than not, it's worked in multiples of the same stitch count (1x1, 2x2, 3x3...) but not always. Just know that if a pattern says X by X rib, it's naming the knit stitches followed by the purl stitches!
Twisted Stitches
Twisted stitches found in the Saltimbanco Shawl
I think one of my all time favorite ways to play with stitches is twisting them. I don't mean twisting as in crossing two stitches (such as in cables) but rather twisting an individual stitch.
To work a twisted knit stitch, rather than inserting the RH (right hand) needle into the front of a stitch (i.e.: knitwise), we insert the RH needle into the BACK of the stitch, also known as "knitting through the back loop" (abbreviated as "ktbl").
The RH needle will still form a "T" with the LH (left hand) needle but it will be inserted from the right instead of the left and will fall BEHIND the LH needle. You still wrap the yarn counter clockwise, as you would with a standard knit stitch.
So why twist a stitch? A couple of reasons:
When a stitch twists, the LEFT leg of the stitch becomes more prominent than the RIGHT left of the stitch. It's often used as a decorative stitch as a means of "popping" a selection of stitches up off the plain of the fabric. OR!
It makes the stitch marginally narrower (tighter) than it would be if it were worked in the typical manner (knit through the front loop). This is a great technique to snug up some ribbing if, when you work the ribbing on your socks, you feel it's too loose but you don't want to reduce the number of stitches cast on!
HERE'S A VIDEO ON HOW TO WORK THE KTBL!
Kicking it up a notch!
There's also the "game" of PURLING through the back loop. The above image of the shawl with the twisted stitches created the undulating pattern is actually worked as a ptbl (or purl through the back loop) on all of the WS rows.
Now purling through the back loop isn't for the faint of heart. I recommend trying it on a swatch before jumping right in on a large project with lots of ptbl's. I also recommend a nice pointy needle to get your needle tip into the stitch.
To purl through the back loop, you rotate your RH needle so that it runs perpendicular with the LH needle behind your work. Insert your RH needle backwards (i.e.: from back to front) of the stitch into the back loop. Normally I'm pretty confident that my written instructions are enough to get you to try the stitch but in the case of a ptbl, I think a video tutorial is the best way to go!
What stitches/SKILLS to YOU WAnt to learn?
Each week as I sit down and write a blog post I think about you - the reader - and how you might best relate to what I want to share. Is there a particular stitch, skill or technique that you're curious to learn that we haven't covered yet? Leave a comment and I'll add it to my list of things to talk about!
Happy stitching!


